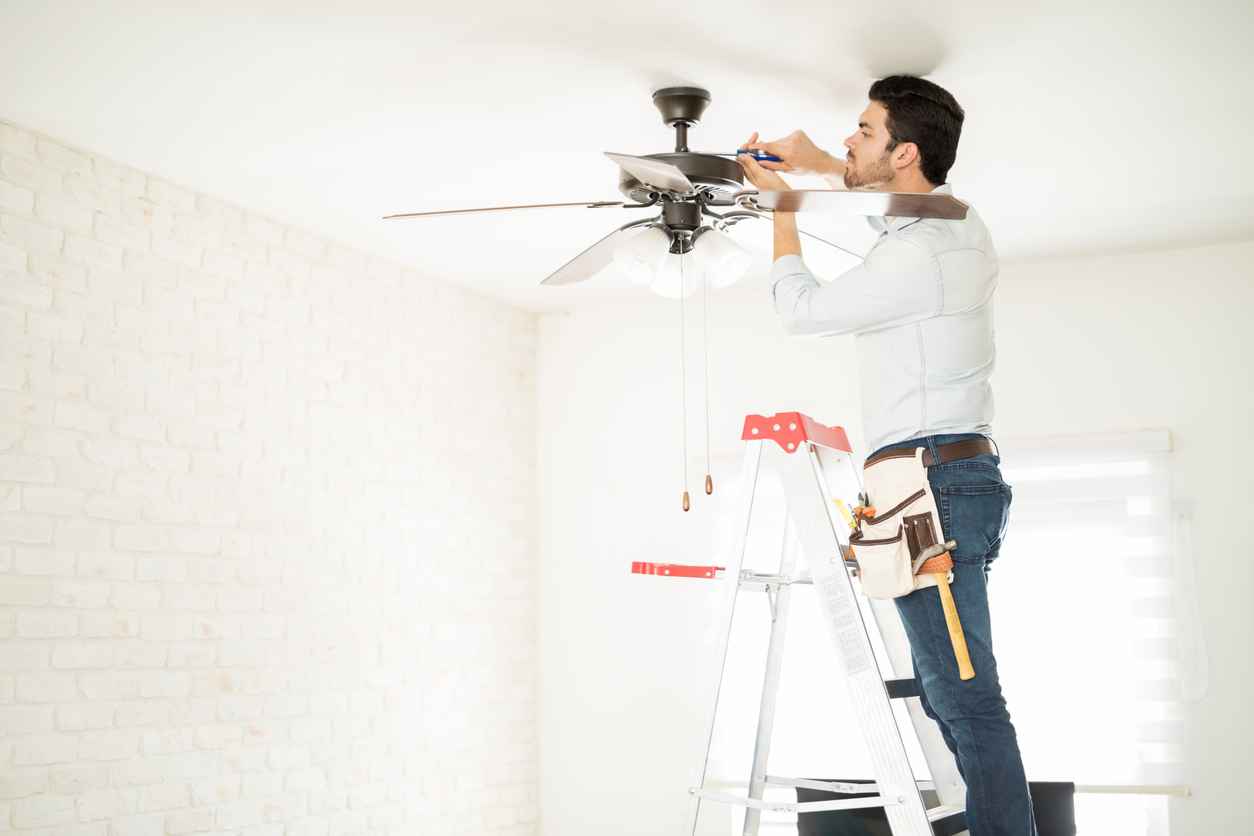
Looking to cool down a room while saving on energy bills? A ceiling fan is a stylish and practical upgrade—and if you already have wiring in place, the installation process is even simpler. But don’t be fooled: working with electricity requires precision and caution.
Mistakes can lead to wobbly fans, faulty wiring, or worse—safety hazards. Whether you’re a confident DIYer or planning to bring in an expert, understanding the installation process is key. In this blog, Over the Moon Heating, Air & Electric walks you through how to safely install a ceiling fan using existing wiring—and when to call in a professional to finish the job right.
What You’ll Need for Installation
Before you begin, make sure you have the right tools and materials on hand. Installing a ceiling fan with existing wiring is usually straightforward—but only if you’re properly prepared.
Here’s what you’ll need:
- Ceiling fan kit: Includes motor, blades, mounting bracket, screws, and optional light kit
- Fan-rated electrical box: Not all boxes are strong enough to support a fan—check the label or replace it if needed
- Voltage tester: Essential for confirming the power is off
- Screwdrivers (Phillips and flathead): For removing the old fixture and installing the new one
- Wire strippers and pliers: For preparing and connecting wires
- Wire connectors (wire nuts) and electrical tape: For safe, secure electrical connections
- Ladder: To safely reach ceiling height
Having everything ready before you begin ensures a smoother, safer installation.
Step-by-Step Guide to Installing a Ceiling Fan
If your room already has wiring in place, installing a ceiling fan can be a manageable project. Just follow these steps carefully to ensure everything is wired correctly and securely.
1. Turn Off the Power
- Head to your electrical panel and shut off the breaker that controls the room you’re working in.
- Use a voltage tester at the ceiling box to confirm there is no electrical current before you touch any wires.
2. Remove the Old Fixture
- Unscrew and carefully lower the existing light fixture or cover plate.
- Disconnect the wires and remove any mounting hardware.
3. Check the Electrical Box
- Look for a label indicating the box is fan-rated.
- If it’s not, you’ll need to replace it with a reinforced ceiling box designed to support the fan’s weight and motion.
4. Mount the Ceiling Bracket
- Install the bracket from your fan kit directly to the electrical box.
- Make sure it’s level and secure—this supports the entire fan assembly.
5. Connect the Wiring
- Match the black wires (hot), white wires (neutral), and green or bare wires (ground).
- Use wire connectors to join the wires securely, then wrap connections with electrical tape for extra safety.
- Tuck the wires neatly into the box.
6. Attach the Fan Motor and Blades
- Follow the manufacturer’s instructions to secure the motor to the mounting bracket.
- Attach the fan blades and light kit (if included), making sure all screws are tightened.
7. Restore Power and Test
- Turn the breaker back on and test the fan operation.
- Try each speed and the light (if applicable) to confirm everything is working properly.
Safety Tips and When to Call a Professional
Installing a ceiling fan may seem simple, but electrical work always carries risks—especially if you’re unsure about wiring or structural support. Keeping safety top of mind is essential for a smooth and hazard-free installation.
Safety Tips
- Always cut power at the breaker, not just the light switch.
- Use a voltage tester to double-check that the wires are not live.
- Never install a ceiling fan to a non-fan-rated electrical box—it may not support the fan’s weight or movement.
- Follow the fan manufacturer’s instructions carefully, especially when assembling motor and blades.
- Keep your workspace clear and use a sturdy ladder.
When to Call a Professional
- If you’re unsure about the wiring connections or see unfamiliar wire colors
- Your ceiling box is loose, damaged, or not fan-rated
- You’re adding a fan to a room that doesn’t have existing wiring
- You want to install a wall switch or remote system for fan and light control
- You’d prefer peace of mind knowing the job was done safely and up to code
At Over the Moon Heating, Air & Electric, our licensed electricians ensure that every ceiling fan is installed safely, securely, and professionally.
Let Over the Moon Help You Install With Confidence
Installing a ceiling fan with existing wiring can be a great way to boost your comfort and energy efficiency—but it’s important to get the wiring and support right. While many homeowners are comfortable tackling this as a DIY project, even a simple mistake can lead to poor performance, safety hazards, or costly damage.
At Over the Moon Heating, Air & Electric, we make ceiling fan installation simple, safe, and stress-free. Whether you’re upgrading one room or outfitting your entire home, our electricians handle every detail with care and precision.
Contact us today for expert ceiling fan installation you can trust—because your home comfort should always be over the moon.

