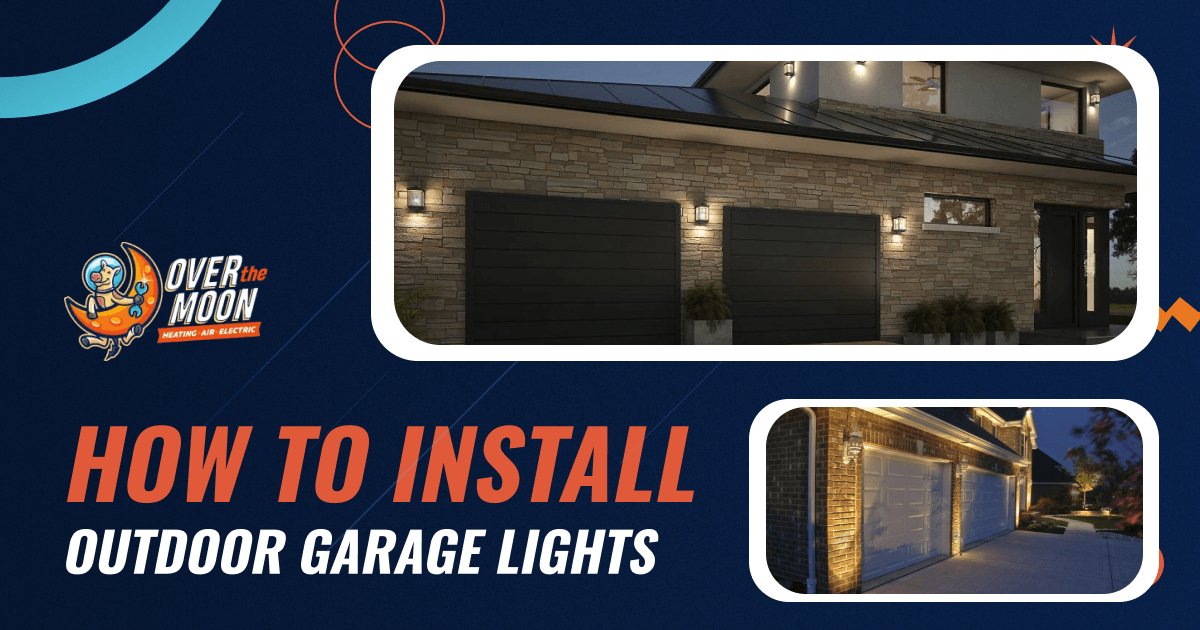
Outdoor garage lights can make your home safer and more secure. They can improve the aesthetics of your front porch or patio as well. To accomplish these objectives, it’s relatively easy to add or replace exterior lights and doesn’t usually take long. While the installation process can vary depending on the type of lights and manufacturer, we’ll cover the general steps to adding outdoor lights to your garage.
Step 1: Decide Where to Install the Light Fixture
You’ll want to know exactly where to install the fixture before starting. Consider the mounting height and location, as this can affect both functionality and compliance with local building and electrical codes. Also measure the path for the wires, which should be in a conduit that protects them and provides a safe path around the garage permitter.
Step 2:Turn Off Power to the Garage
Switch off the circuit breaker to the garage, at the main electrical panel, to avoid getting shocked or starting a fire. Test an outlet with a non-contact voltage tester; this ensures the power is off. To do so, insert the nose of the tool into the outlet’s narrow hot slot. It won’t respond if the power is off, but if it’s on, there will be a flashing light and audible chirp.
Step 3: Prepare for Installation
If you have an existing light, remove it along with its mounting bracket. The new fixture should include its own mounting bracket. When replacing the bracket, use a level to make sure the crossbar is level. To provide an appropriate connection point, proceed in one of the two following ways:
- If There’s an Existing Wall Receptacle: Use a screwdriver to remove the receptacle and screw the metal mounting from the extension box into the wall’s electrical box. Using the screwdriver, pry the round plug from the top of the extension box and attach the 1/2-inch conduit connector to the top. Then screw the extension box into the light fixture’s mounting plate.
- If There Isn’t a Wall Receptacle: Cut a hole the size of the retrofit box in the outside wall. The box should mount snugly into this space with little room around it. Then pull the electrical wire from the box into the wall and to the power source. Access holes may need to be drilled into drywall. Or, you can use a surface conduit to run the cable.
Step 4: Connect the Conduit
After measuring from the top of the extension box to the ceiling, subtract 1½ inches and see a matching conduit piece. Sharp burrs should be smoothed with a file. On one end of the conduit, slide a right-angle connector; on the other end, insert the connector into the extension box. Add a conduit hanger to the conduit, mark the position, and screw the hanger to the wall; tighten the hanger screw. The conduit should be supported every 12 inches, and use conduit elbows whenever crossing a corner.
Step 5: Complete the Wiring for Your Outdoor Light
Next, connect a junction box to the conduit along the front wall. A 14/2 nonmetallic cable should run through the box through the hole in the wall. Attach a cable connector to the round outlet box, feed the nonmetallic cable through the connector, and screw it in place. Fill the hole in the wall with caulking. The outlet box is then screwed in to secure it against the siding.
Inside, remove the cover plate for the extension box and push the electrician’s tape into the closest right-angle conduit connector, extending it through the box. Tape copper wires to the fish tape and pull them through. Once the wires are hanging out of the connector, push the tape into the conduit at the junction box.
As you wire the outdoor light, wrap the ground wire (typically green) once or twice around the ground bolt threading, near the head. Tighten the ground bolt. Follow the manufacturer’s instructions for wiring the new fixture. Black wires connect to black terminals, white wires to white terminals, and green or bare ground wires to their respective terminals. Strip plastic insulation from the ends if necessary and twist the wire ends together. Seal the ends with plastic wire connectors or electrical tape for waterproofing.
Step 6: Install the Fixture
To assemble the fixture, screw the motion sensor into the center hole of the lamp-holder cover, and thread the lamp holders into the side holes of the sensor. Tighten the motion sensor and lamp holders with a finger, and then connect the cable to the garage light. Mount the fixture to the outside wall, install the light bulbs, and place the lamp-holder cover onto the light.
Now you can turn the power back on and test your outdoor garage lights. Adjust the lamp holders and motion sensor as needed.
Schedule Outdoor Lighting Installation with Over the Moon
Our landscape and outdoor lighting professionals can assist with your project if necessary. Installing outdoor garage lights requires electrical work that can be dangerous if you don’t have the right experience. To schedule service, contact us online or call 262-218-2842.

