Replacing your outdated ceiling fan can be a relatively simple weekend project. The first task is to remove your old fan. Every unit is different from another, but here are some general steps so you know how to remove a ceiling fan from its mounting.
Removing a Ceiling Fan in 6 Steps
Step 1. Turn Off the Power
Don’t just turn off the wall switch or knob. Go to your electrical panel and switch off the appropriate circuit breaker. Then try to turn on the fan or lights in the room. The breaker should be labeled, but if you’re not sure, turn off smaller breakers one at a time and keep checking whether the fan is on or off. You can also use a voltage tester to verify there’s no power.
Step 2. Disconnect the Light Fixture
Different types of fixtures are used for ceiling fans, such as:
- Multi-Arm Light Fixtures: Remove the bulbs and then the glass shades.
- Bowl Light Fixtures: Remove the caps and finials first while holding the bowl glass. Then you can remove the glass and the light bulbs.
- Integrated Light Kits: Remove any glass coverings and unplug the light kit. Use a screwdriver to separate the light kit assembly from the motor housing.
Step 3. Remove the Fan Blades
Some ceiling fans are designed with blades that connect directly to the motor housing. The blades should be unscrewed and removed. If the blades are attached to blade irons, unscrew the blade irons from the motor housing. You can keep the blades attached to the irons.
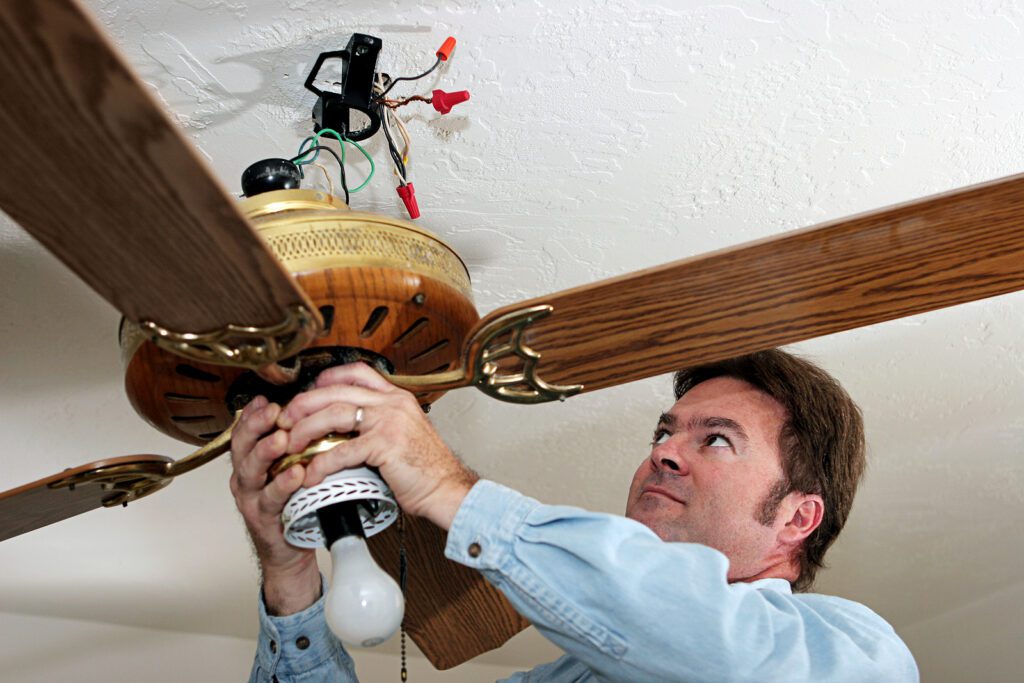
Step 4. Disconnect the Wiring
Remove the wire nuts before disconnecting the fan wires from house wires. Disconnect the remote receiver if there is one wired in the canopy. For a low-profile ceiling fan, remove the light and blades and then disconnect the wires; they are often attached to a mounting bracket with a hinge on which you can rest the fan. You can therefore unwire the unit with both hands.
Step 5. Remove the Mounting Bracket
The old fan’s mounting bracket must be removed. Your new ceiling fan will have its own bracket designed to match its configuration. For fan brackets attached directly to the electrical box, keep the same screws; for brackets secured to a wooden brace with wood screws, new screws will be needed.
Step 6. Types of Fans
Depending on the type of ceiling fan, removing it may require additional steps and considerations. Some examples include:
- Downrod Ceiling Fans: Remove the canopy before separating the internal wiring. Unscrew the metal cover, and if applicable, remove the decorative ring that covers the screw. Once your remove the cover’s screw, slide the cover down to the bottom of the rod. Then remove the wire nuts, separate the wire connectors, and slide the ball out of the ceiling bracket.
- Flush-Mount Ceiling Fans: The fan motor is often secured with a screw and hinge. Remove the screw with a screwdriver; the fan will hang from a hinge. Then take off the wire nuts or plastic caps that connect the wires from the ceiling to the fan. Once the wire connections are separated, you can remove the fan body.
Contact Over the Moon
Our licensed electrical technicians can assist if you don’t know how to remove a ceiling fan or aren’t comfortable doing so. We specialize in installations, replacements, and upgrades so you can benefit from a fan in the summer and winter. Light kits, remotes, and speed controls can be installed as well. For help selecting and installing a ceiling fan, schedule service online or call 262-218-2881 today!