Replacing an electrical outlet is generally simple. If you find an outlet that is cracked, doesn’t grip the plug firmly, feels hot to the touch, sparks, smokes, or has a burning smell, it must be replaced. Continuing to use a faulty outlet risks damage to electrical components and devices, not to mention a shock, burn, or fire. If you’re comfortable enough working with wires, and your local building code permits you to do this task yourself, here’s an overview of how to replace an outlet yourself.
Consider Your Safety
Don’t install an outlet with a higher power rating than the circuit can handle. A 15-amp receptacle can be installed on a 20-amp line, but connecting a 20-amp or higher outlet to a 15-amp circuit can cause a lot of damage. For the most part, 20-amp outlets are reserved for special circuits intended for heavy-duty appliances. Tamper-resistant receptacles are required by the electrical code and prevent children from sticking objects into the outlet’s slots and being injured. Always purchase outlets that comply with the latest code.
Outlet Replacement in 6 Steps
Check the outlet in question if it doesn’t seem to be working properly. To replace it:
1. Turn Off the Power
Shut the breaker for the relevant circuit, at the main panel, and verify the power is off at the outlet location with a voltage tester. The instrument should read no voltage after inserting the tip of the probe into the outlet’s slots.
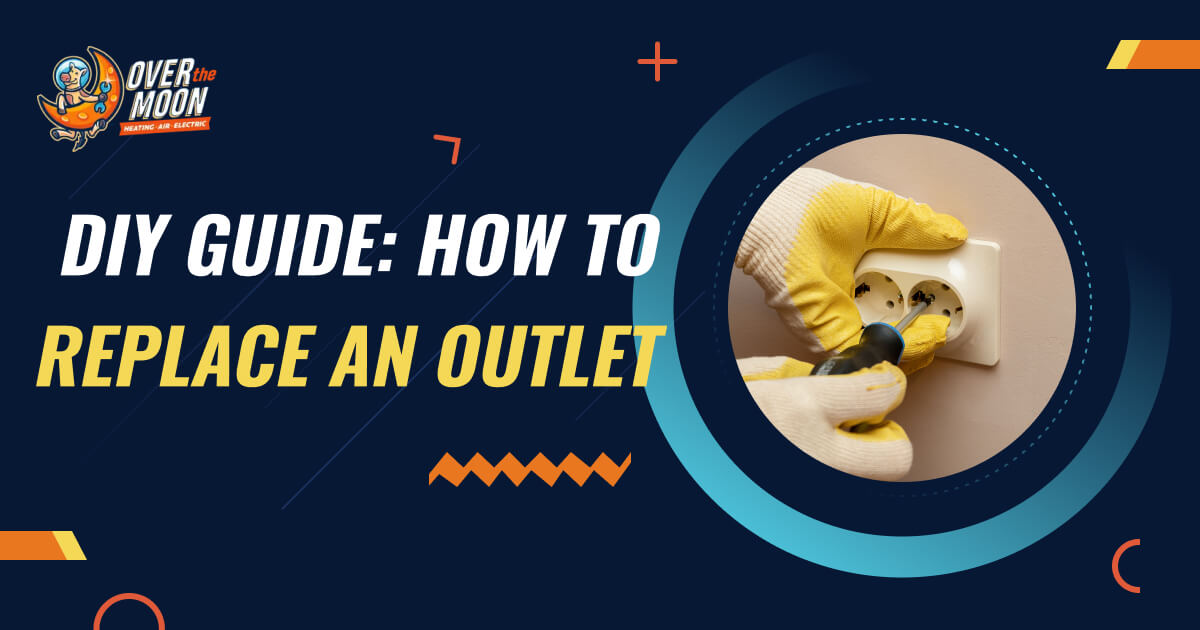
2. Remove the Outlet Cover
The faceplate is the surface you see. Using a screwdriver, unscrew the screws mounting the wall plate, and gently remove the cover. Test the power again as you did before. The wiring and terminals will now be exposed.
3. Examine the Wiring
Probe the top pair and then the bottom pair of terminal screws. You should see black “hot” wires connected to brass screw terminals, white “neutral” wires attached to silver terminals, and bare copper (or green insulated) “ground” wires connected to the green grounding screw. Receptacles may have other wiring configurations; draw a diagram or take a photo to help guide installation of the new receptacle.
4. Verify Receptacle Size
The wiring will determine the type of receptacle you’ll need. There are two types of 120-volt outlets. One uses 14-gauge wire (for a 15-amp circuit), which is the thickness of a dime, but a 20-amp socket uses 12-gauge wire that is the thickness of a nickel. Contact an electrician if you can’t determine the size of outlet you need.
5. Disconnect the Wires
To remove the receptacle, either disconnect the wires from the screw terminals, or use older back-wire connections. To remove these, insert a flat screwdriver or small nail into the release slot to free the wire from the receptacle body. If a wire is damaged or excessively twisted, snip it with a wire stripping tool.
6. Install the New Outlet
The new receptacle is connected the same way as the old one. Attach the white wire to the silver terminal and black wire to the brass terminal. All terminals and bare wires should be wrapped with electrical tape. Once the wires are in place, you can push the outlet back into its housing. Make sure to do so gently. Tighten the mounting screws and then reinstall the wall plate, unless it’s damaged or doesn’t match the walls, in which case you’ll need a new plate.
Power can be restored once the wall plate is secured. You can now test the outlet using a voltage tester. If all checks out, the receptacle is ready to use.
Contact Over the Moon
If you’re not comfortable with DIY electrical outlet installation or run into problems trying it, our licensed electricians can set up your new outlet and ensure it’s safe to use. We install standard, switched, GFCI, and USB as well as smart outlets. When you have additional questions about how to replace an outlet, or wish to schedule electrical service, call Over the Moon at 262-218-2860.