AC Installation in BROOKFIELD, WI
Serving Greater Milwaukee
It’s always best to have your AC system replaced by a certified professional who knows how to do an installation properly.
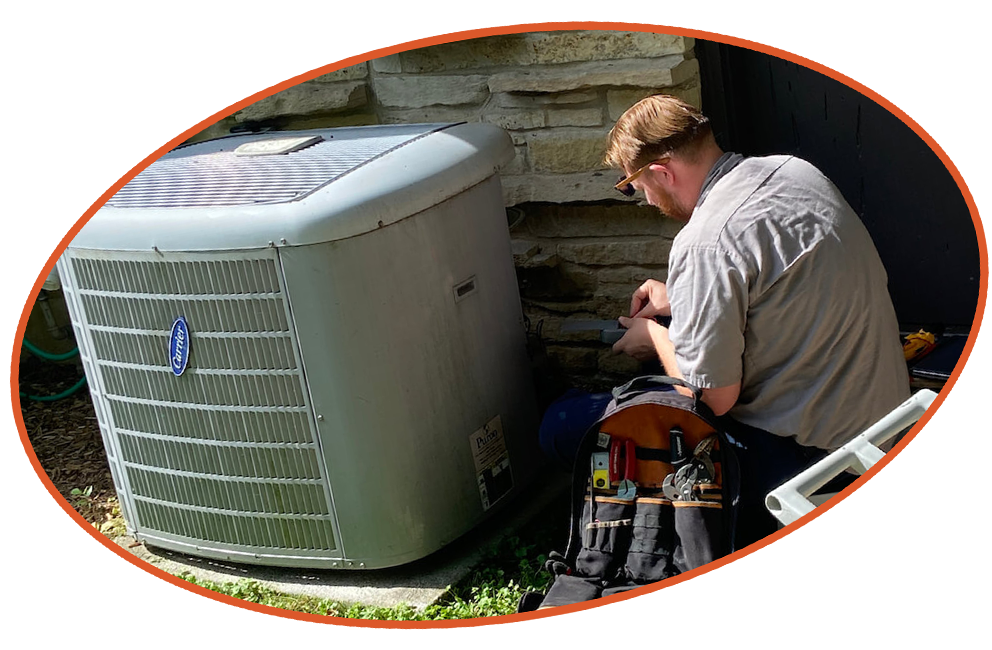
It’s always best to have your AC system replaced by a certified professional who knows how to do an installation properly. Summer temperatures are ever climbing all across the United States and around the world, and people without AC or with malfunctioning units are calling their local technicians for service right now.
Air conditioners not only make living spaces comfortable in terms of temperature but also filter dust and pollen and remove moisture from the air, extending the life of furniture and electronics. Although air conditioners are a convenience, in some cases, they are necessary.
Some think that air conditioning can be too costly for their bank accounts. But today, high efficiency systems along with smart thermostat devices can cool homes more efficiently. There are many types of air conditioners and you can learn more about them below.
What types of units should you consider for your AC installation?
There are a lot of cooling choices available today. While some homeowners are overwhelmed at the different possibilities available to them, there are others who feel delighted. Depending on what you like, how big your house is and what kind of system it is set up for, your AC installation options may be limited. The most widely recognized sorts of cooling units are clarified underneath.
AIR CONDITION SERVICES
Save On Our HVAC Services


$99**
A/C Tune Up
HVAC services


Free
diagnostic with any repair
HVAC services
Packaged System
Packaged systems include the condenser, evaporator and compressor in one pack, usually on the roof or on a concrete slab near the home. This system also utilizes ducts and vents for efficient performance. It may also have heating elements, reducing the need for the winter months for a separate furnace.
Split System
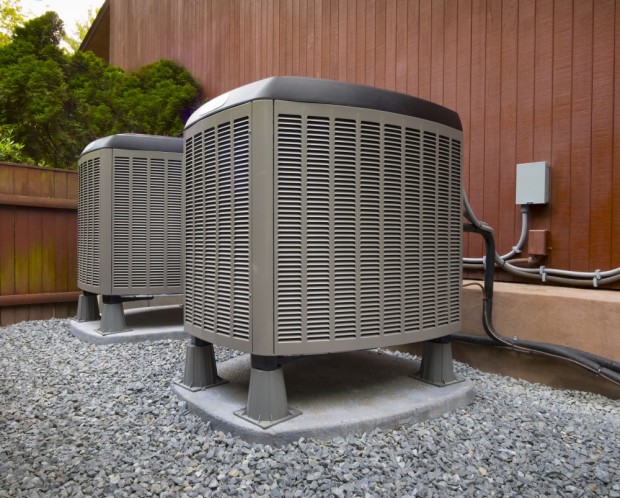
In this system, the condenser coil is part of an outside unit, whereas an evaporator coil can be found inside the home, often inside a utility space or closet. The system works to blast cool air throughout the home with ductwork and vents. It can be prohibitively expensive to retrofit an older home to accommodate ductwork. Long-term, energy efficient units and smart thermometers make this a cost-effective way to cool a home.
Evaporative Cooler
A “swamp cooler” is sometimes a nickname for this air conditioner. A swamp cooler pulls in air from outdoors through dampened pads, and as the moisture evaporates, the air is cooled. Such a system is best used in places with dry climates and if additional moisture is desired, direct evaporative coolers may be employed. But once there is already a certain level of indoor humidity in the house then its effectiveness starts to wear off.
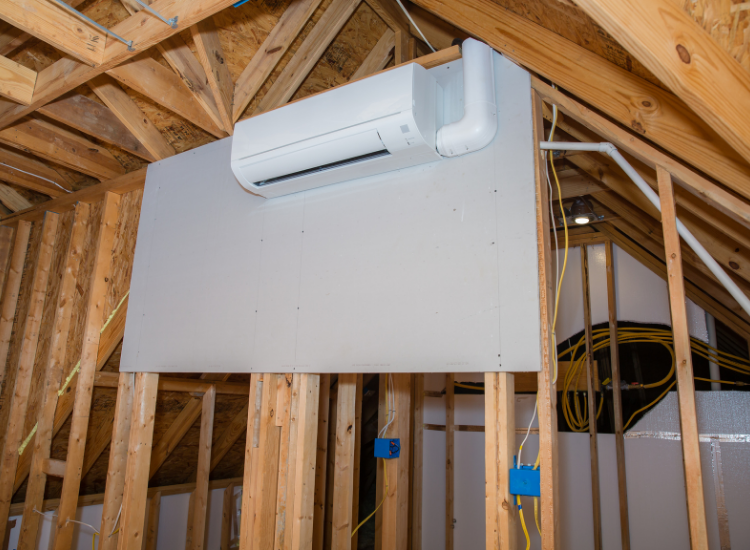
Ductless Mini-Split System
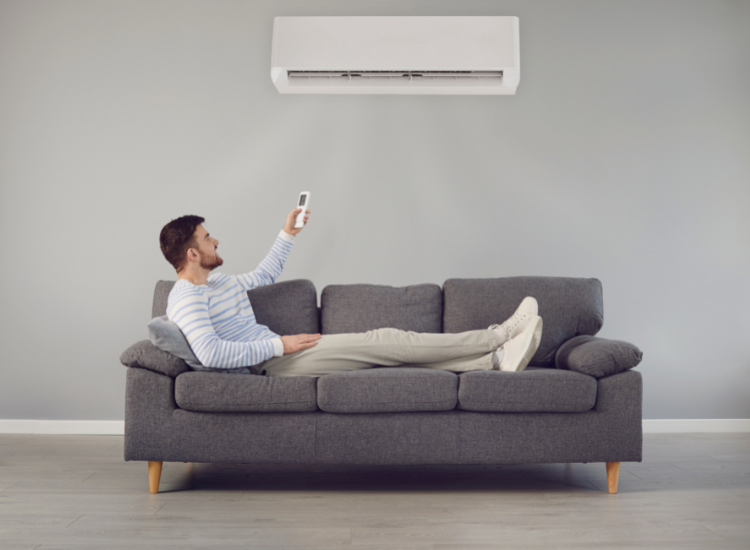
Whereas these frameworks are more common in other nations, they can be a less expensive choice for older households not equipped with conduits. The compressor/condenser unit that is placed in the outer surroundings is the one responsible for the filtering of the air that goes to each room in the house.
Homeowners have more control when cooling individual areas rather than an entire house. However, if the homeowners prefer to cool the entire home, a central air unit is more cost-effective than a ductless system.
Remember to regularly service your new unit.
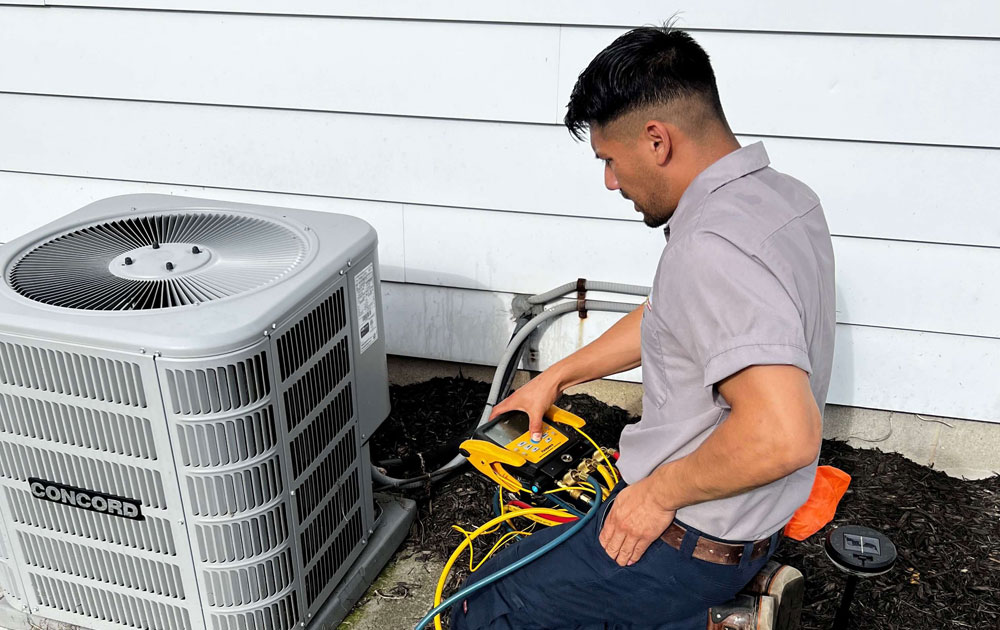
Once a new unit is installed, it is highly recommended that you have it serviced annually to ensure optimal performance. AC technicians should watch for generic wear and tear, replace parts, and keep maintaining the device for as long as possible to keep it running. Regular tune-ups of AC units also prevent it from suddenly breaking down during the summer when you are in most need of air conditioning.
AC units generally can give you ten years of use before you need to replace it. You should not wait for it to reach its end life before you start searching for what you would replace it with. As the AC units become older they will be less efficient in their operations. Once you install a new unit, you’re likely to see decreased energy bills and better performance.
Explore our expert services and learn more about AC repairs and installations in your area:
See what our clients
say about our work
AREAS WE SERVE
SCHEDULE SERVICE TODAY!
LET US TAKE YOU OVER THE MOON WITH OUR SERVICE!

